Are you fascinated by Viking culture and looking to craft a Viking helmet to add to your collection or wear at a historical event? You’ve come to the right place.
In this article, we’ll walk you through a step-by-step guide on how to create an authentic-looking Viking helmet using simple materials and techniques.
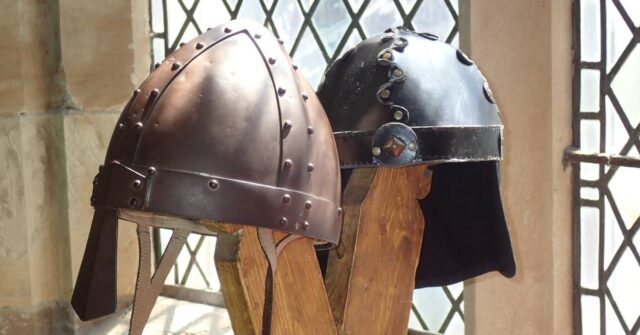
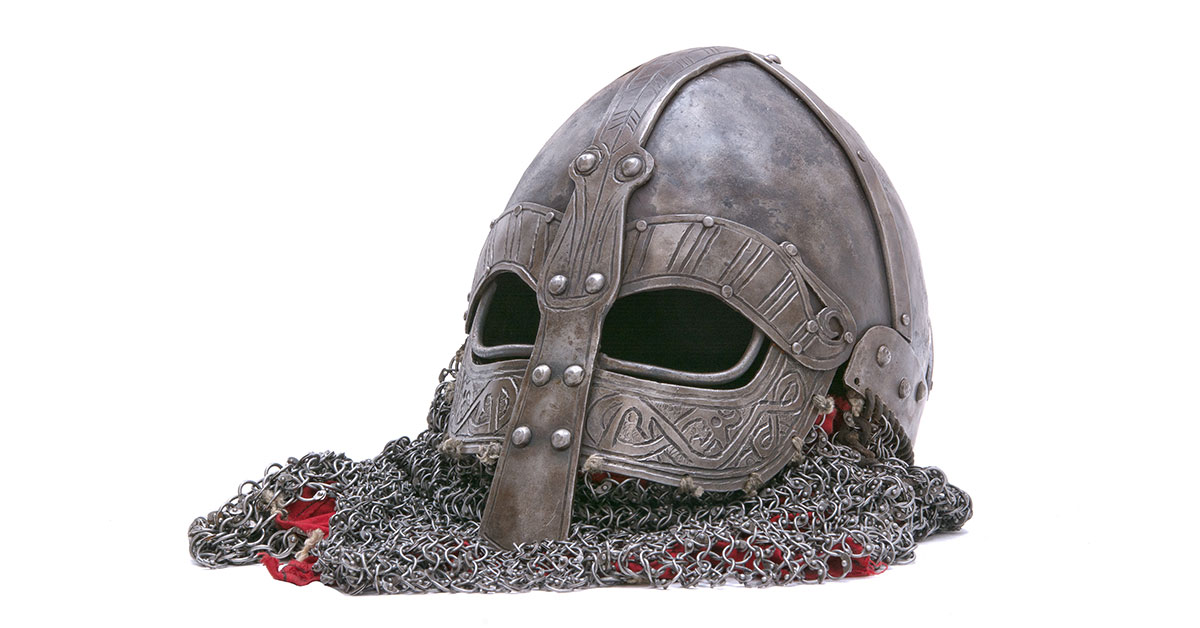
NOTE: Contrary to popular belief, Viking helmets did not have horns. Instead, they were simple, practical, and functional. With this in mind, we’ll be focusing on creating an accurate representation of the iconic Gjermundbu helmet, the most well-preserved Viking helmet ever found.


Materials and Tools Needed
- 18-20 gauge steel sheets
- Metal snips or shears
- Ball-peen hammer
- Steel dishing stump or sandbag
- Metal files
- Ruler and compass
- Marker or scribe
- Safety goggles and gloves
- Rivets or nuts and bolts
- Leather or fabric for padding
- Optional: spray paint or metal patina
Step 1: Preparing the Steel Sheets
Using metal snips or shears, cut out two steel sheets: one for the dome and one for the faceguard.
- For the dome, measure and cut a sheet measuring 17 x 11 inches (43 x 28 cm).
- For the faceguard, cut a sheet measuring 11 x 4 inches (28 x 10 cm).
File the edges of each sheet to remove any burrs or sharp edges. Remember to wear safety goggles and gloves while cutting and filing.
Step 2: Forming the Dome
Mark the center of the dome sheet’s longer side. Using a compass, draw a semicircle with a radius of 5.5 inches (14 cm) from the center, extending to both edges. This will serve as a guide for forming the dome.
Place the steel sheet on the dishing stump or sandbag with the semicircle facing up. With the ball-peen hammer, start hammering along the semicircle’s edge, working your way toward the center.
Keep rotating the sheet as you work to ensure even curvature. Continue hammering until the sheet forms a dome-like shape.
Step 3: Creating the Faceguard
With the smaller steel sheet, measure 1.5 inches (4 cm) from each top corner and mark the points. Draw a line from these points to the opposite bottom corners, creating a trapezoid shape. Cut along these lines and file the edges.
Using the marker or scribe, draw a horizontal line 2 inches (5 cm) from the bottom edge. From this line, mark and cut out two small rectangular slots on either side, approximately 1 inch (2.5 cm) apart.
These will serve as ventilation holes and also add a touch of authenticity.
Step 4: Attaching the Faceguard
Align the top edge of the faceguard with the bottom edge of the dome, making sure the ventilation holes are at the bottom.
Mark holes for rivets or nuts and bolts at the points where the faceguard overlaps the dome. Drill holes through both layers and secure them with your chosen fasteners.


Step 5: Adding Padding and Finishing Touches
Cut a strip of leather or fabric to fit the inside circumference of the helmet. Attach it using glue or stitch it in place, ensuring there is enough padding for comfort.
Optional: To give your helmet a more authentic appearance, you can apply some spray paint or a metal patina to achieve an aged or weathered look.
Conclusion
Congratulations! You’ve now crafted your very own Viking helmet.
This hands-on project not only allows you to connect with history but also gives you a unique, personalized piece to showcase or wear.
Remember, you can further customize your helmet by adding decorative elements such as engravings, etchings, or even a chainmail aventail for additional neck protection.


Embrace your inner warrior and proudly display your Viking helmet at reenactments, historical events, or even as a conversation-starting piece in your home. This step-by-step guide has given you the foundation to create an authentic-looking Viking helmet but feel free to explore more advanced techniques or materials as you grow more comfortable with the process.
With your new Viking helmet, you can now step into the world of the fearless Norse warriors and bring a piece of their rich history to life. Enjoy your creation and the journey it took to craft it, for it’s not just a helmet but a testament to your creativity and dedication to exploring the past.


