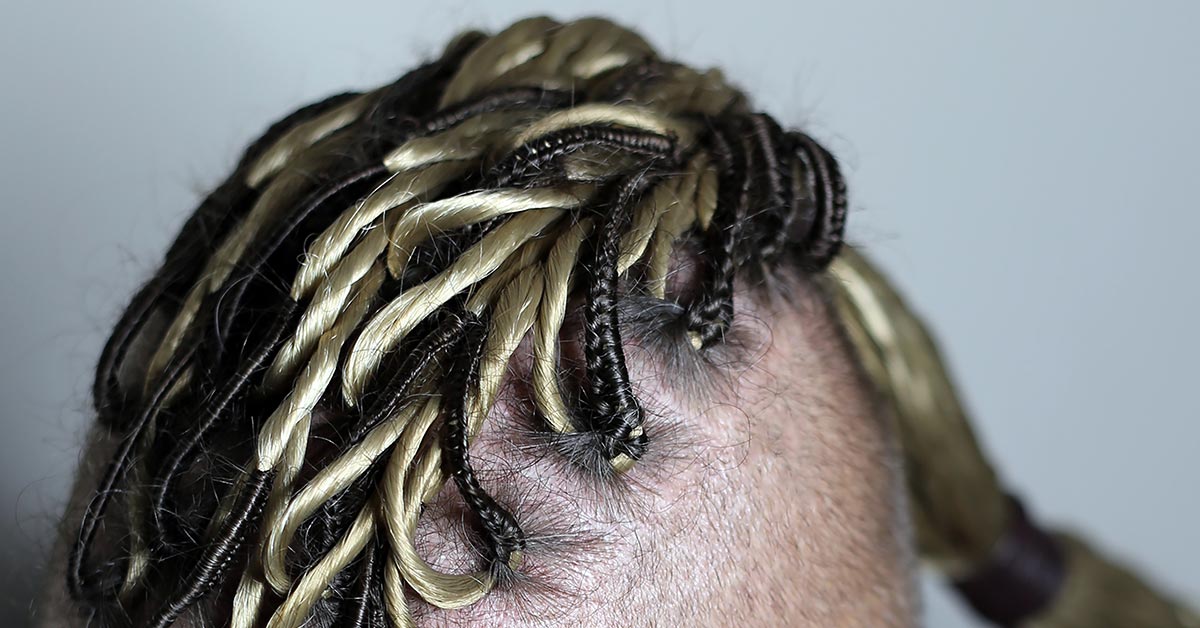
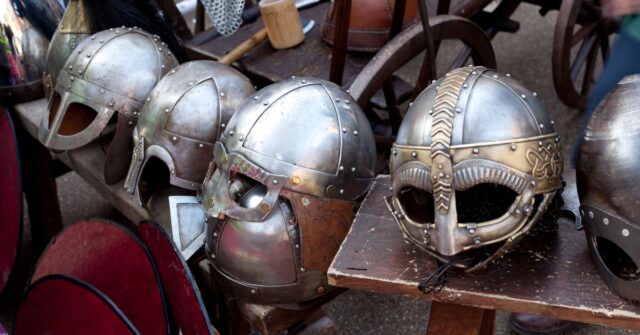
Embarking on a journey back in time, the art of Viking braids stands as a testament to both beauty and strength.
This guide aims to equip you with the knowledge to weave your own saga into your hair, blending ancient tradition with modern flair.
Introduction to Viking Braids
More than just a hairstyle, Viking braids were a symbol of status, profession, and culture in Norse society.
They told stories of valiant warriors and intrepid explorers, of people deeply connected to the lands and seas that surrounded them.
The History and Significance of Viking Braids
Historically, these braids were not merely for aesthetics; they served practical purposes. For warriors, tightly braided hair kept it out of the way during battle.
For the seafarers, it meant less hassle from the whipping wind and spray of the sea.
Yet, there was a beauty in their complexity, a reflection of the intricate Norse mythology and the rugged landscapes they inhabited.
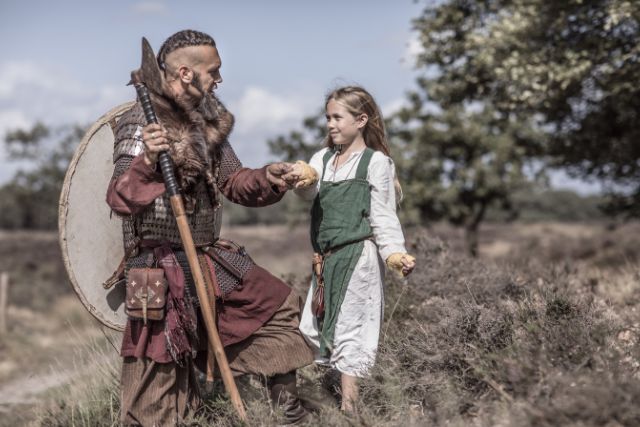

Popular Viking Braid Styles Through the Ages
From the simple single plait to the elaborate crown braids adorned with beads and metals, Viking braid styles varied widely. Each style held its own meaning, reflecting the wearer’s role in society, their achievements, and sometimes even their marital status.
Understanding the Basics of Braiding
Before we dive into the braids of yore, let’s brush up on the basics. Braiding is a skill, and like any skill, it takes practice. So, grab your comb, some elastic bands, and let’s get to the root of braiding.
Different Types of Braids: A Primer
There are many braid types out there – French, Dutch, fishtail, just to name a few. Each has its own technique but shares a common ground – they all start with simple plaiting.
Tools and Accessories You Will Need
You’ll need more than just your fingers: a comb for detangling, clear elastic bands for securing, and perhaps some hair beads or rings for that authentic Viking touch.
Preparing Your Hair for Braiding
Starting with clean, slightly damp hair can make the process smoother. If your hair is slippery, a bit of mousse or texture spray can provide the necessary grip.
Step-by-Step Guide to Creating Viking Braids
Embark on your braiding journey with clarity and precision.
Follow these detailed steps to master the Viking braid, starting with a basic braid and then learning how to embellish it with traditional Norse accessories.
Basic Viking Braid for Beginners
1. Start by brushing your hair to remove any tangles. Part your hair down the middle for a symmetrical look, or choose a side part for a more dynamic style.
2. Select a section of hair at the top of your head, near the part. Divide this section into three equal strands.
3. Begin a traditional three-strand braid. Cross the right strand over the middle, then the left strand over the new middle strand.
Continue this pattern, adding small sections of hair from each side to the outer strands before you cross them over.
4. As you braid down the side of your head, keep the braid tight to the scalp for a secure Viking look.
Once you reach the nape of your neck, continue with a regular three-strand braid until you reach the end of your hair.
5. Secure the braid with a small, clear elastic band. For an authentic touch, gently pull at the edges of the braid to widen it slightly, creating a fuller appearance.
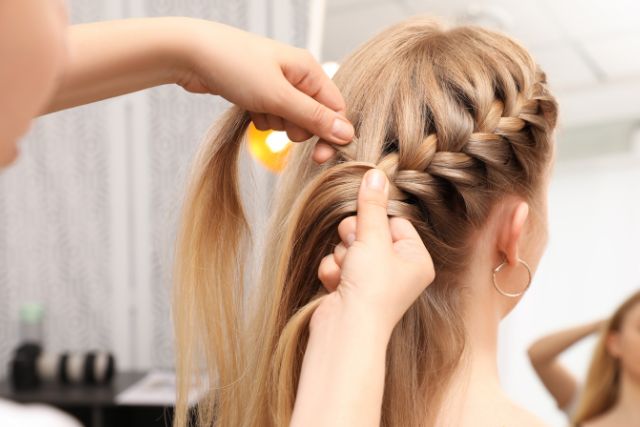

Viking Braid With Beads and Accessories
1. Once you have completed your basic Viking braid, it’s time to embellish it with beads and accessories for that quintessential Norse warrior or explorer look.
2. Choose your beads or rings. Viking beads can be made of metal, wood, or bone. Make sure the beads have holes large enough to thread through your hair or braid.
3. Use a small hair loop tool or a bobby pin to thread the bead onto a section of the braid.
Open the bobby pin, loop a small section of the braid through it, slide the bead onto the bobby pin, and then pull the braid through the bead.
4. Place the beads at equal distances apart for a symmetrical look, or space them randomly for a more casual style.
You can also add metallic rings by simply opening the ring, wrapping it around the braid, and then closing it securely.
5. For a final touch, consider weaving a thin ribbon or leather string in and out of the braid, starting from the top and working your way down.
Secure the ends of the ribbon or string with a small knot at the bottom of the braid, trimming any excess material.
Double Viking Braid
1. Begin by parting your hair down the middle into two equal sections. This will create a symmetrical look, essential for the double Viking braid.
2. Starting on one side of your head, near the part, select a small section of hair. Divide this section into three equal strands to start your braid.
3. Initiate the braid by crossing the right strand over the middle, then the left strand over the new middle strand.
After a few crosses, start incorporating small sections of hair from the side into the outer strands before crossing them over the middle, similar to a French braid technique.
4. Continue braiding tightly along the side of your head, incorporating more hair as you move down.
Once you reach the area just behind your ear, stop adding new hair and finish with a traditional three-strand braid. Secure the end with a clear elastic band.
5. Repeat the same process on the other side of your head. Ensure both braids are as symmetrical as possible to maintain the classic Viking look.
6. For added authenticity, gently tug at the sides of each braid to widen them slightly. This will give your braids a more pronounced and rugged appearance.
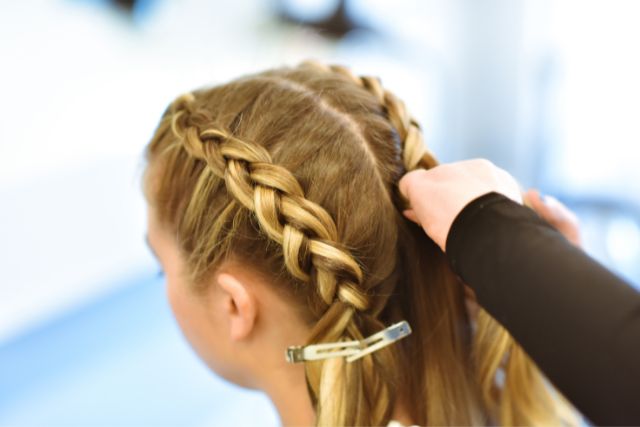

7. If desired, wrap a small section of hair around each elastic band to conceal it, securing the end of the wrapped hair with a bobby pin tucked beneath the braid.
8. Finally, for a true Viking warrior effect, consider merging the two braids at the nape of your neck, continuing as one single braid down your back.
Secure the merged braid with another elastic band, and optionally, add beads or rings as described previously.
This double Viking braid technique not only pays homage to the fierce beauty of Norse tradition but also adds an element of intricate craftsmanship to your hairstyle repertoire.
Perfect for both casual gatherings and formal occasions, it’s a versatile style that channels the spirit of ancient warriors and modern adventurers alike.
Tips for Best Results
For braids that withstand the trials of a Viking’s day, keep your hands close to the head as you braid and use clear elastic bands for a stronghold. Don’t worry about a little messiness – it adds character.
Also, don’t be afraid to experiment with different variations and accessories to find the style that best expresses your inner Viking spirit.
With patience and practice, your Viking braid will not only be a hairstyle but a masterpiece reflecting the powerful elegance of Norse culture.
Advanced Viking Braiding Techniques
Once you’ve conquered the basics, these advanced styles will truly set you apart from the mere mortals.
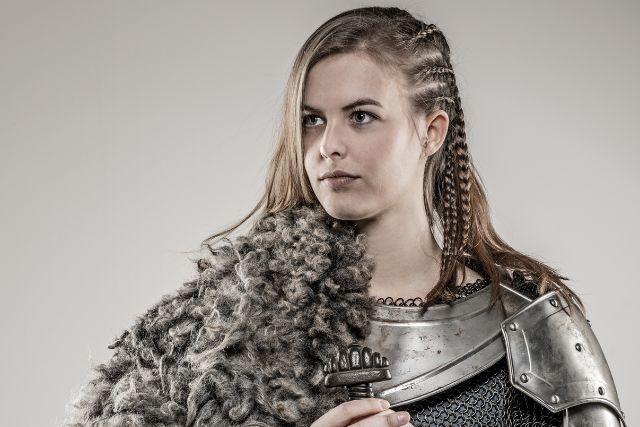

Creating the Lagertha Braid
Inspired by the legendary shield maiden Lagertha, this style involves a combination of French and Dutch braids, artfully arranged to frame the face and cascade down the back.
The Shield Maiden Twist
This complex arrangement of twists and braids pays homage to the fierce female warriors of Norse lore. It’s both a statement and a challenge – are you ready to take it on?
Incorporating Ribbons and Fabric into Your Viking Braid
Weaving ribbons or strips of fabric through your braids can add a splash of color and texture, echoing the
Viking tradition of using whatever materials were at hand to create something beautiful.
Maintaining and Caring for Your Viking Braid
Even the mightiest Viking braids need tender love and care to stay looking their best.
How to Sleep With Viking Braids
Wrap your braid in a silk scarf or sleep on a silk pillowcase to reduce friction and prevent your braid from turning into a bird’s nest overnight.
Washing and Caring for Braided Hair
When it’s time to wash, be gentle. Use a mild shampoo and carefully work it through the braid, followed by a thorough rinse.
Dealing With Braid Itch and Discomfort
If your scalp gets itchy, resist the urge to scratch. Instead, use a spray bottle filled with water and a few drops of essential oil to soothe the itchiness.
Styling and Accessorizing Your Viking Braid
A Viking braid isn’t just a hairstyle; it’s a statement. Here’s how to make sure it speaks volumes.
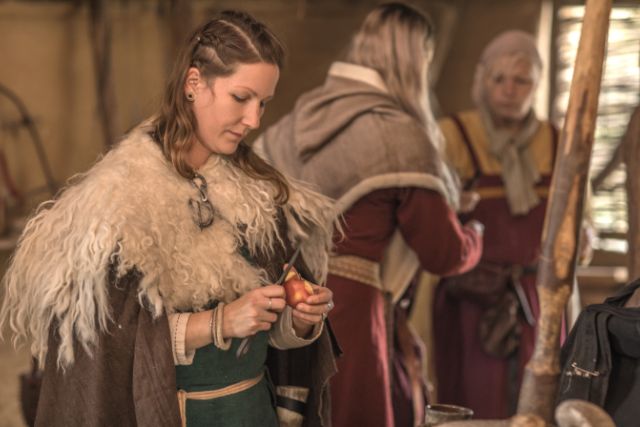

Choosing the Right Accessories for Your Braid
Select accessories that reflect your personality. Whether it’s a simple wooden bead or a flashy metal ring, let your accessories tell your story.
Outfit Ideas to Complement Your Viking Braid
Pair your braid with outfits that balance modern sensibility with a nod to the past. Think leather jackets with intricate patterns or flowing dresses with rugged boots.
Occasions for Sporting Viking Braids
From Renaissance fairs to everyday fashion statements, Viking braids are versatile. Wear them with pride, whether you’re headed to a costume party or just feeling particularly fierce on a Tuesday.
Frequently Asked Questions About Viking Braids
Got questions? We’ve got answers. Here’s the lowdown on the most common queries about Viking braids.
Can Viking Braids Be Done on Short Hair?
Yes! While longer hair offers more versatility, even those with shorter locks can rock a Viking braid with the right technique and accessories.
How Long Do Viking Braids Last?
With proper care, a Viking braid can last several days, though you might need to touch it up to keep it looking its best.
Are Viking Braids Suitable for All Hair Types?
Absolutely. Thick, thin, curly, or straight – there’s a Viking braid style for every hair type.
Conclusion
In the end, Viking braids are more than just a hairstyle; they’re a bridge to the past, a nod to the fearless men and women who roamed the seas and conquered lands.
With this guide, you’re not just braiding your hair; you’re weaving a piece of history into your everyday life. So, take up your comb as if it were your sword and braid with the spirit of a Viking!

